 This guide will take you through how to change buckets on the excavators available from the Didcot Plant hire fleet.
Also available to download as a PDF guide.
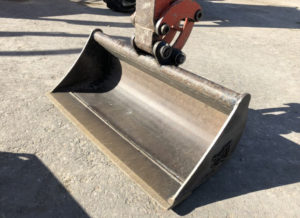
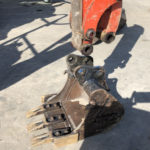
1. Rest the bucket lightly on level ground (to avoid putting pressure on the bucket pins).
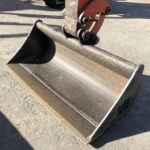
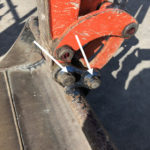
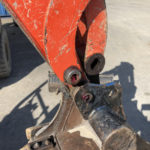
2. Remove the two lynch pins.
-
-
An excavator bucket resting on the ground prior to being removed
-
-
Excavator bucket showing the location of the two lynch pins
-
-
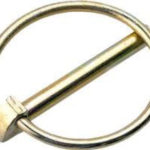
An excavator bucket lynch pin
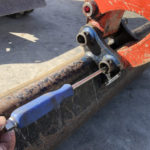
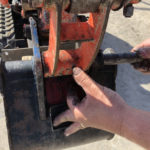
3. Push bucket pins out with large screwdriver (do not hit with hammer). If they don’t slide easily reduce pressure from arm. Don’t allow removed bucket pins to collect dirt or grit.
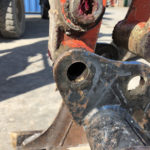
4. Lift boom up, away from bucket.
5. Place new bucket under links.
-
-
Pushing the bucket pins out with a screwdriver
-

-
Lifting the boom up from the now loose bucket
-
-
Placing the new bucket
6. Lower boom to line up holes, making small adjustments as necessary.
7. Slide bucket pin in by hand (it should slide in easily, no hammering) and fit pin. (Note: some buckets have lynch pin locators on opposite side).
!!! IMPORTANT: Injury risk – keep fingers out of holes !!!
-
-
Lowering the boom
-

-
Sliding the bucket pin in
-
-
Lifting the bucket in the air
8. Lift bucket in the air.
9. Lower rear link (crowd bucket) and line up bucket pin and link by hand.
10. Slide bucket pin in, wiggling bucket if necessary and fit lynch pin.
-
-
Lowering the rear link
-

-
Wiggle the bucket if necessary and fit lynch pin
!!! IMPORTANT: Injury risk – keep fingers out of holes !!!