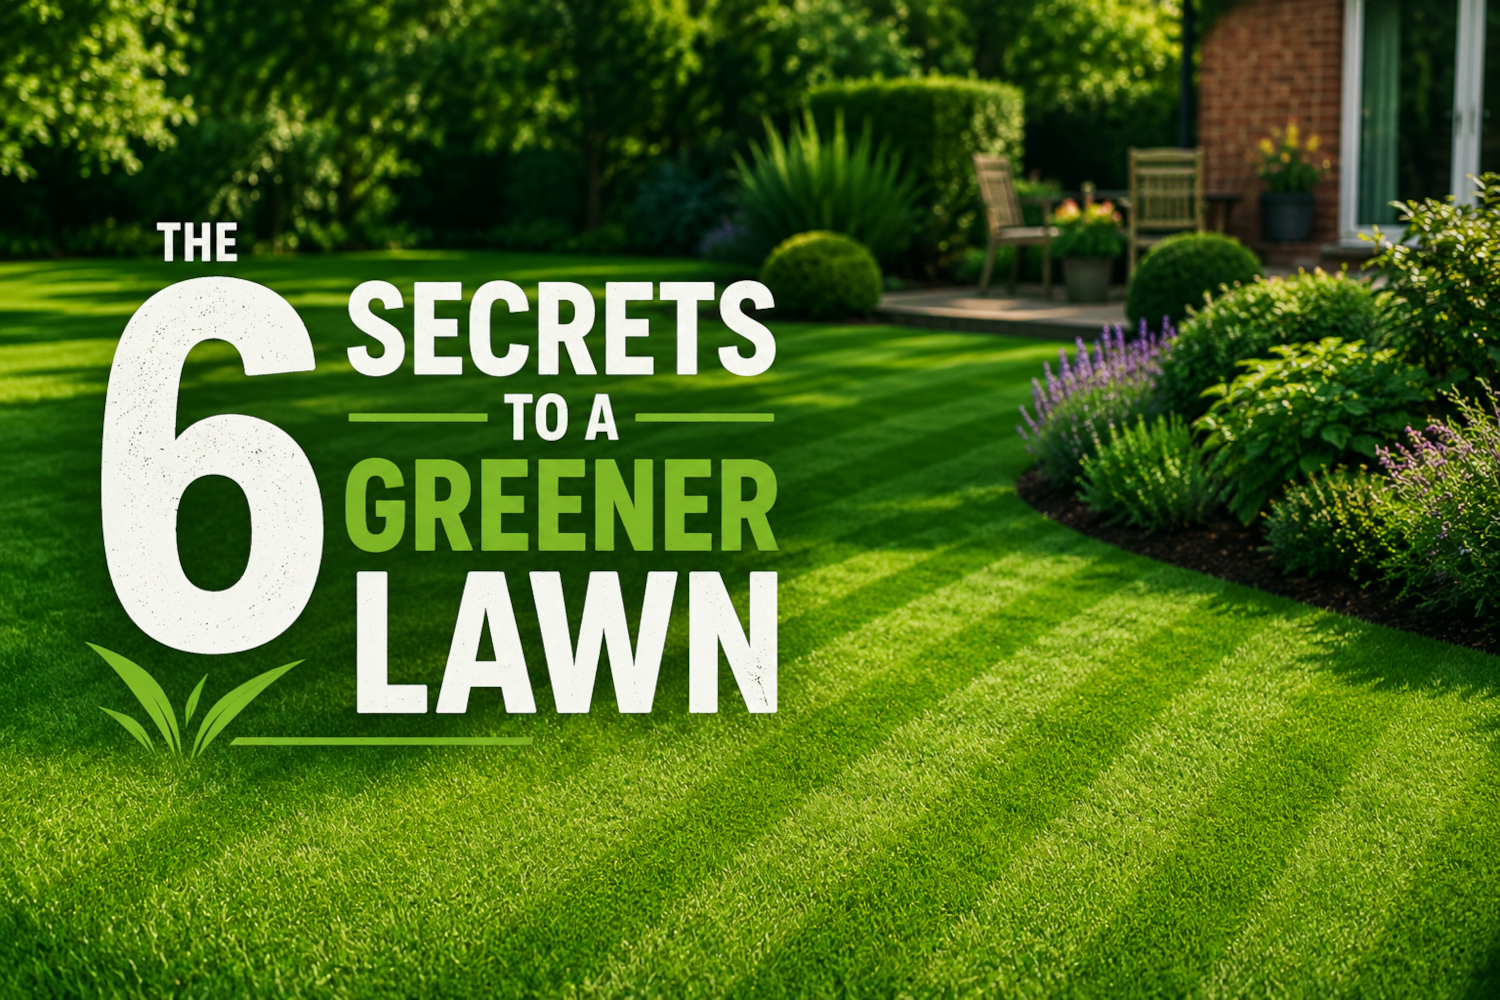
Most homeowners think the secret to a greener lawn is watering more often or applying expensive lawn treatments.
In reality, some of the biggest improvements come from simple changes to the way you mow and care for your grass.
A lawn that stays green throughout the summer is usually one with stronger roots, better moisture retention and less stress. The good news is that achieving this often requires less work, not more.
Here are six simple secrets that can help you enjoy a greener, healthier lawn this year.
1. Stop Cutting Your Grass Too Short
One of the most common lawn care mistakes is mowing too low.
It might seem logical: cut it shorter and you’ll need to mow less often. Unfortunately, short grass has shallower roots, dries out more quickly and allows weeds to establish more easily.
Longer grass shades the soil, helping it retain moisture during warm weather. In most cases, raising your mower by just one setting can make a noticeable difference to the appearance of your lawn.
2. Greener Grass Starts Below the Surface
The healthiest lawns are usually the ones with the deepest roots.
When grass is allowed to remain slightly longer, it develops a stronger root system that can access water and nutrients further down in the soil.
This helps the lawn stay greener during dry periods and recover more quickly from stress.
Many homeowners focus on what they can see above ground, but the real secret to a healthy lawn lies beneath the surface.
3. Follow the One-Third Rule
Professional groundskeepers often follow a simple rule: never remove more than one-third of the grass height in a single cut.
Cutting too much at once places unnecessary stress on the lawn and can leave yellow or brown patches behind.
If your grass has become overgrown, raise the mower height and gradually reduce it over two or three cuts rather than taking it all off in one go.
4. Change Your Mowing Direction
If you always mow in exactly the same pattern, grass can begin to lean in one direction and wheel tracks may become visible.
Changing direction from time to time encourages more upright growth and helps create a fuller, more even appearance.
It’s a small change that takes no extra effort but can improve the overall look of your lawn.
5. Let Your Lawn Feed Itself
When conditions are dry and you’re only removing a small amount of growth, fine grass clippings can often be left on the lawn.
They break down surprisingly quickly and return valuable nutrients to the soil.
Many people bag up every clipping without realising they’re throwing away a natural source of fertiliser.
6. Raise the Mower During Dry Weather
As summer progresses, many homeowners continue mowing at the same height they used in spring.
A better approach is often to raise the cutting height slightly during hot, dry periods.
The longer grass helps shade the soil, reduce water loss and protect the lawn from heat stress. The result is often a lawn that stays greener for longer, even when rainfall is limited.
A Greener Lawn Doesn’t Have to Mean More Work
Many homeowners unknowingly make life harder for themselves by cutting their grass too short and too often.
By mowing a little higher, avoiding drastic trims and encouraging deeper root growth, your lawn can stay greener, cope better with dry weather and require less maintenance throughout the season.
Sometimes the secret to a greener lawn isn’t doing more—it’s simply doing a few things differently.